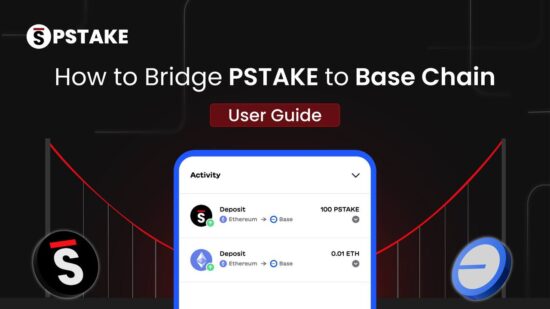
We recently announced that we’re bringing PSTAKE to Coinbase’s newly emerging Layer-2 scaling solution – Base Chain.
With lower fees, higher transaction speeds, and a unique integration with Coinbase, Base Chain is promising to become a rising star in the crypto industry in 2024.
Now that PSTAKE is officially live on Base, we wanted to show you how to successfully bridge PSTAKE from Ethereum to the Base Chain.
The procedure is straightforward and shouldn’t take longer than a few minutes.
In this tutorial, we will be using Superbridge to bridge PSTAKE from Ethereum to Base.
To get started, you’ll need to ensure you have PSTAKE and some Ethereum to cover any transaction costs.
How to Bridge PSTAKE to Base Chain Using Superbridge
The following steps outline how to bridge PSTAKE from the Ethereum chain to the Base Chain using the Superbridge dApp.
To complete these steps, you will need to ensure you have ETH to pay for the gas fees.
Step 1: Navigate and connect to the pSTAKE dApp.
- Head over to https://superbridge.app/ and select the “Base” tile;
- This will bring up the dApp to bridge assets to the Base Chain. Go ahead and connect your wallet to Base by clicking “Connect”:
- A notification will appear asking you to select your wallet:
- Select your desired wallet, and then click “Connect” on its notification;
Step 2: Select the PSTAKE Asset
Now that you’re connected to Superbridge, the next step is to select PSTAKE on the dApp and then choose how much to bridge.
- First, take notice that we are bridging assets from Ethereum to Base. You should see the following on your dashboard;
- Select the “ETH” option on the dashboard to change the current asset type from ETH to PSTAKE:
- The following dialog box will appear, asking you to choose the asset to bridge. Search for “PSTAKE” and select “pSTAKE Finance”:
Step 3: Enter the Desired Bridging Amount and Hit “Deposit.”
Now that pSTAKE is selected as the asset to bridge, the next step is to enter the amount to bridge from Ethereum to Base Chain.
NOTE: This process takes place in two stages:
- Approve Superbridge to spend PSTAKE
- Initiate the deposit for bridging.
- Enter the desired amount of PSTAKE to bridge and hit “Deposit”:
- A notification dialog will appear, presenting information regarding the bridging. The notification shows the cost of “Approving PSTAKE” and “Initiating the deposit.” If you’re happy to go ahead with the bridging, select all three checkboxes and click “Approve.”
- This will bring up a wallet notification asking you to allow the app to spend your PSTAKE, which is the first stage of the process. If you’re still happy to continue, hit “Confirm”:
- Once confirmed, the next step is to initiate the deposit, allowing PSTAKE to be bridged from Ethereum to Base. To continue, hit “Initiate Deposit”:
- A second notification dialog box will appear to proceed with the bridging, which is the second stage of the process. Please note that you will require ETH to pay for the gas here. If you’re happy to go ahead, hit “Confirm”:
- The bridging process is now initiated. The entire process shouldn’t take longer than a few minutes, depending on the network load. To track your process, you can hit the “activity” tab at the bottom of the screen:
- Once complete, you should see the following dialog in the “Activity” tab:
That’s all there is to it!
You’ve now successfully bridged PSTAKE from Ethereum to Base Chain and are free to use PSTAKE elsewhere on Base.
About pSTAKE Finance
pSTAKE Finance is a multichain liquid staking protocol backed by Binance Labs that lets users securely stake the biggest crypto assets and receive liquid staked tokens (LSTs) called stkTokens. These LSTs can then be used in DeFi to generate additional yield.
stkTokens by pSTAKE Finance offers one of the highest DeFi yields, thanks to low fees and partnerships with the biggest DeFi ecosystems. pSTAKE Finance helps decentralize networks with its unique stake delegation strategy, powered by an intelligent algorithm based on on-chain decentralization parameters.


